Sunday, August 1, 2010

Lobster

Nights out at nice restaurants often leave you full, satisfied, and poor.  However, it's possible to have fancy schmancy food for a fraction of the cost, and some dishes are EASY to fix at home.  Lobster is one of these.  Granted, it's not a $3 meal, but you can find good lobster for around $12 a lb.  Pair this with a salad and corn on the cob and you're set.  Or, if you want to get really fancy, pick up some steak as well and treat yourself to surf and turf at home.  Yum.

First, pick out a lobster.  He will be alive, and you can store him in the fridge until you're ready to cook!

Put an inch or two of water in a big pot, and add a generous amount of salt and a couple of tablespoons of lemon juice.  Bring to a boil, and then, after cutting the bands off the lobster, put him in head first.  Cover with a lid.
Cook for about 13 minutes per pound.  The easiest way to know if he's done, is to invest in a meat thermometer, and cook to 160 degrees. 

While the lobster is cooking, prepare a buttery dipping mixture for the meat.  Use 1/2 stick butter, 1 tablespoon lemon juice, fresh parsley, and garlic salt to taste.

Sooo yummy.  Enjoy!

Friday, July 30, 2010

So Yum Hum-mus

I used to be one of those people that was afraid of hummus.  It looked gross, and as horrible as this sounds all I associated it with was vegetarians.  Since then I have learned to embrace all diets.  I was at a get-together and hummus was one of the only things on the spread.  So I went for it...and I LOVED IT!  It is very healthy and is chock full of fiber so you can't beat that.  I made up this hummus recipe and have had friends try it and everybody has liked it so far (fingers crossed that continues.)  So if you've always been wary of hummus, give it a try it's super easy! So here goes...

I usually use 1-2 roasted bell peppers, but little did I know that this jar had gone bad :( Luckily I had a bell pepper on hand, an honestly I liked this version better!
Throw everything except the olive oil into a food processor and blend.

Stream in just enough olive oil while it's blending to make a smooth dip, almost like refried beans.  The reason I use the sour cream is to cut the fat and give it more of a creamy texture, then top it off with the olive oil.  Technically not true hummus but who cares! Voila!

Hummus
2 cans chickpeas, drained
1 jalapeno seeded and chopped
1/2 any color bell pepper (I used orange I think, but if you don't have one it will certainly still be tasty)
2 cloves garlic (mine were small, if huge use one)
2 T. light sour cream
EVOO
salt and pepper to taste

Throw everything but the olive oil into a food processor.  Blend until smooth, stream in olive oil until consistency you desire.  Serve with vegetables or pita chips.

Monday, July 26, 2010

Apple Pecan Chicken Salad

In an effort to be healthier around here (man it's hard!) I am going to start trying to post a few more healthy recipes.  Growing up I was a salad bar kind of girl.  But I have to admit, I really enjoy the not so healthy options on the salad bar.  Bacon, cheese, croutons, ranch...just seeing these words typed together makes me kind of cringe, but come on people, it's good!  I'm a creature of habit, a salad covered in ranch dressing was what I grew up on, and my taste buds were satisfied with staying on that bandwagon.  Only within the past few years have I learned to love other dressings.  Vinaigrettes are my new love, and while I still occasionally order ranch, I know that a vinaigrette is the healthier option most times.  So I'm really really trying to expand my palette and sample new things.  This salad isn't too crazy (I can't branch out too far yet :) and I didn't make my own dressing, but it's still pretty yummy!  On today's menu...Apple Pecan Chicken Salad.

Apple Pecan Chicken Salad
2 cups 50/50 salad blend (spinach and spring mix)
1 small boneless skinless chicken breast (approx. 3 oz) grilled and chopped
1 T. pecan pieces
1 granny smith apple, cubed
1 T. dried cranberries
1 T. crumbled feta cheese
1 T. red onion chopped
2 T. light raspberry vinaigrette

The deets: Cal: 339, Fat: 13, Carbs: 39, Protein: 23, Fiber: 8, WWPoints: 7

Thursday, July 22, 2010

Cucumber Garlic Dip

Wow let me first say that it's been a LONG time.  I am so sorry! I have a lot to post so hopefully I can get that done within the next month or so before I go back to work.  Since I last saw you guys, I was able to visit Lori in Oklahoma! Yay!! We did some food related stuff, so hopefully we can get that stuff posted on here too.  Onto the cucumber dip!

Lori posted a version of this dip that is super yummy, so if you haven't had a chance to see that one, check it out.  But I'm a sucker for garlic, even with the dragon breath that comes with it.  I had a version of this dip out at the lake that we frequent every Sunday :) Side note: LOVE SUMMERTIME! I didn't ask for the recipe (although I should have) and decided on a whim yesterday to make my own version, because I had everything on hand. 


The basics: Cucumber, garlic, cream cheese, S&P
(I threw a little parsley and dill (pinch) into the food processor, but if you don't have those it's still lovely!)


Garnished with some chopped parsley & chives (only because I had them people, it's still delish without!)
I ate this with potato chips, only because that's what I had (recurring theme?) but I think pita chips would be awesome too!

Cucumber Garlic Dip
1/2 package of cream cheese
1 clove garlic, minced or in my case, grated
1 cucumber, peeled, seeded, and chopped

Throw first three ingredients into the food processor and blend until smooth and creamy.  Add salt and pepper to taste.

Tuesday, April 20, 2010

Guacamole

This is by far the best guacamole you will ever put in your mouth! It's simple, and delicious.  Guacamole is something that can be overdone in my opinion.  Some people feel like they just need to keep adding ingredients...I say no way! :)  That's why this recipe is basic, but oh so yummy!

First, all the ingredients. I accidentally left the garlic out of the picture.  Why am I always doing that?
Note: Your avocados should be firm, but give to some pressure.  You don't want too firm or too mushy!
If you are a little nervous to work with an avocado don't be!  There is an easy way to cut and dice an avocado, I promise.  Slice around the avocado with your knife, then twist the two sides apart. 


I couldn't exactly take pictures of the next part, but I smack my knife and lodge it into the pit, then pull it out. This is much easier than scooping the pit out.


Once you have your pit out don't get rid of them, we'll use them later ;)
I didn't come up with this myself (thank you Martha Stewart) but I have found that this is the easiest way to slice and dice an avocado.  Slice in both directions, then scoop it out with a spoon! Bam! Instant, diced avocado! :)  Once you have all the avocados diced up, put one or two of the pits in the bowl.  This keeps the avocado from browning.  Most people use lime juice (and we'll add that later too) but I have found this keeps it fresh for DAYS in the fridge! :)

See how beautiful that avocado is?? All chunky and happy!

Add the diced tomatoes, garlic, jalapenos, red onion, cilantro (I think that's missing at this point in the pictures, but it's there in the end :) , salt (to taste) and lemon juice and stir until combined.  If you don't like the way it tastes just add more of whatever you need.  Sometimes I add a tiny bit of olive oil just to add to the consistency.  If I get a wild hair I sometimes add a dollop of sour cream :)

Of course you have to taste!

Twice!

Guacamole
3-4 avocados, diced
4 roma tomatoes, diced and seeded
1 tsp garlic, minced
2 jalapenos (diced, I leave some seeds in)
1/4 cup chopped cilantro
1/4 cup (heaping) diced red onion
1 T. lime juice

Wednesday, March 31, 2010

Grilled Green Beans

I have to thank my sister-in-law Brandy for introducing me to cooking green beans this way a couple of years ago.  There really isn't much of a recipe...she told me "green beans, garlic, salt, pepper, and oil"...Let me tell you, these green beans are so unbelievably delicious I constantly tell Timothy that I really could eat just a whole entire plate of them.  I really could.  Sorry for all you ham hock & onion, cook to death green bean lovers out there (I still love those by the way) but these are stinking amazing.  And I don't use that word lightly.  Try it, I swear I'll make a believer out of you!

All of the simple ingredients:
(yes that's my iced tea maker in the back that looks like a creepy clown's nose and mouth)


The best green beans to get are the frozen ones from Sam's Club.  They are whole, long, green beans and are not cut.  You can use cut frozen green beans, those work just fine.  But these are skinny and long and the ends char up really well....So take those beautiful frozen green beans and mix in all the rest of the stuff.  I love garlic so I put in 2 cloves, plenty of salt, and pepper.  If you put too much on, no big deal, it really flavors the green beans and most of it ends up in the bottom of the pan. 

Spread them out on a pan, pop them into the oven, and let the magic happen...
Mmmmmmmmm, check those out!  There's a few beans in there that have charred edges, but that's the best part.  I usually cook them even further than this, but Timothy was starving, so I pulled them out a little ahead of time.  Still delicious, crispy, flavorful...just plain good!

Grilled Green Beans
2-3 cups of frozen green beans
1-2 cloves of garlic, minced (you could use garlic powder in a pinch, but the fresh garlic makes a big difference)
kosher salt
cracked pepper
extra virgin olive oil

Preheat oven to 425°.  Drizzle the green beans with enough oil just to coat and give them a little shine.  Add the garlic and sprinkle the salt and pepper.  I toss with my fingers to coat all the green beans.  Place on an ungreased pan (this is where the stoneware comes in handy, but a cookie sheet will do too.)  Bake for about 15-20 minutes or until green beans have crisped up on the edges and start to wrinkle.  You may want to use tongs to turn them halfway through.

Tuesday, March 30, 2010

Red Lobster Cheddar Bay Biscuits

These beauties taste just like the real thing, I swear!  I got this recipe years ago and my husband loves these.  I like to make them with fish (hello, if I'm gonna copy Red Lobster, I'm gonna really copy Red Lobster, duh!) but I constantly hear my husband say, "hey you know what would go great with this?..."  no matter what it is that I have cooked.  You can't forget the cold butter, that makes them just right.  I've tried it without the butter, and it honestly just isn't the same!

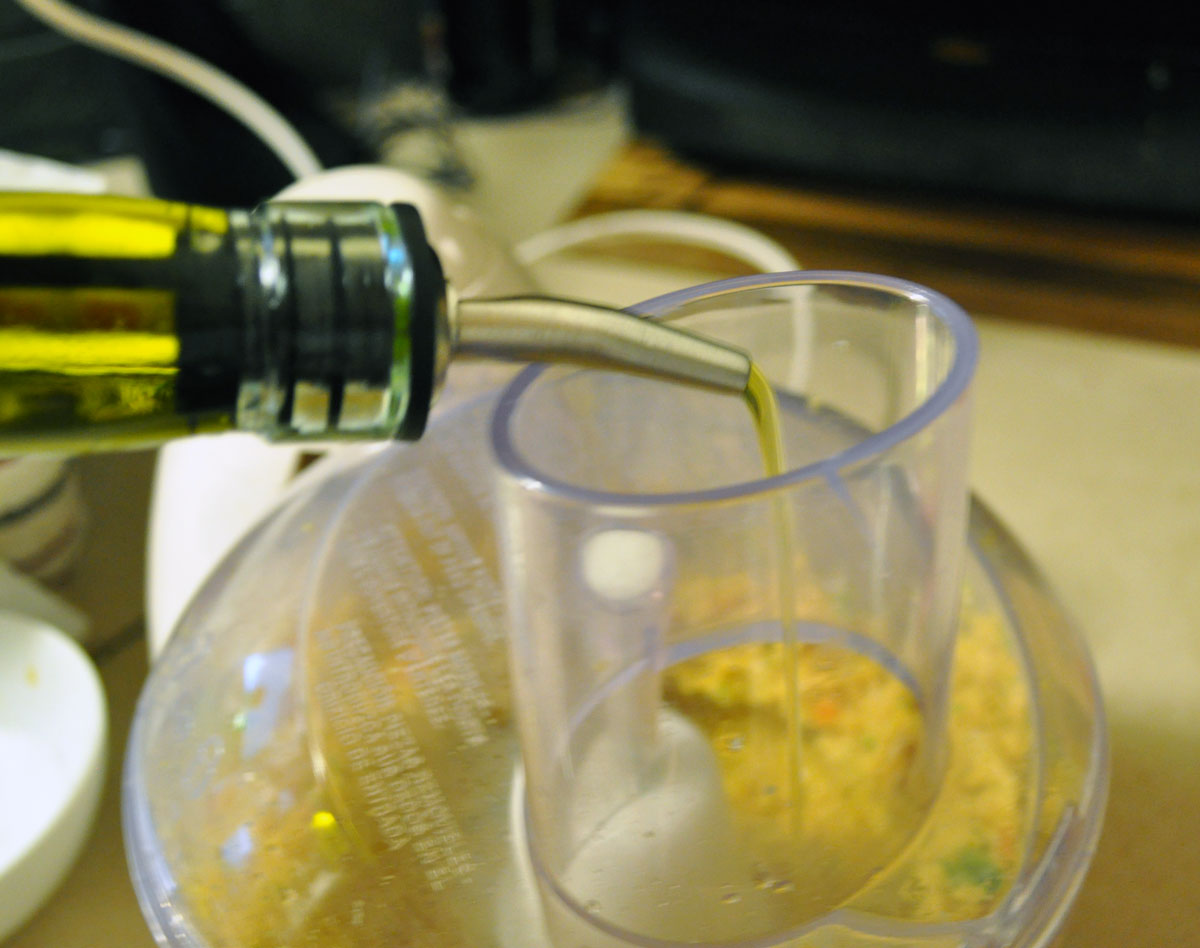
What you need:  Bisquick, cheese, garlic powder, parsley, cold milk, cold butter.  I grate my own cheese but you don't have to do that.  I only do it because it truly is cheaper, I suggest it!  I could explain all my reasons all day long, but I'll refrain.
Mix in the cold butter with a fork.  Don't overmix though, you want it to still have small pieces of butter running through it.  And no, my finger isn't broken, it just naturally bends like that.  I always thought it was normal, but now looking at this picture it kind of creeps me out...

mix in the milk, cheese, and garlic powder.  Stir until just combined and drop onto a cookie sheet. 

This makes about 9 regular sized biscuits, unless you are like me and didn't want to use your large pan, so you decide to cram 6 large biscuits onto one pan.  Let me tell you this is not really a good idea.  You end up with mondo biscuits that look huge!  Didn't take away from the flavor at all, but they were really big. 

Melt butter and add the parsley and garlic to make your glaze.  Brush this onto your biscuits right when they come out of the oven.  They will be shiny, and flaky, and delicious.  And you may have leftovers if there's just two of you, and your husband may call dibs on the remaining biscuits for work.  Just sayin'.


Red Lobster Cheddar Bay Biscuits
2 1/2 cups Bisquick
4 Tbsp cold butter
3/4 cup cold milk
1/4 tsp. garlic powder
1 cup cheddar cheese

Butter "Glaze"
2 Tbsp butter melted
1/4 tsp dried parsley flakes
1/2 tsp garlic powder
1 pinch salt

Preheat oven to 400°.  Combine Bisquick and cold butter.  I usually do this with a fork, but don't combine too much.  You should still have small chunks of butter in your dry mix.  Add cheddar, milk, and garlic powder.  Mix until combined, but again, don't overmix.  Drop onto cookie sheet.  I use my stoneware and don't grease it, but you may want to spray a little Pam (she's pretty cool) on your sheet.  Bake for 15 minutes or until they are lightly brown.  Mix together your butter "glaze" and brush on immediately after taking out of the oven.  Yum Yum!

Up Next...those beautiful green beans you see on the plate!

Saturday, March 27, 2010

Honey Jalapeno Coleslaw

Ever get tired of the same old coleslaw?  No? Well I do, and I'm always looking for ways to make it different, even better.  I am a huge fan of a creamy coleslaw, and not so much a fan of a vinegar based slaw...but to each their own right?  This recipe is a first for me.  This is the first recipe that I've ever written all by myself!  I usually take a recipe and change it to make it "my own."  I also have lots of stuff that I make on a regular basis that are my creations, but this was the first one that I have ever sat down and actually put to paper.  Sometimes you have made something so many times that when people ask for the recipe you go "duuurrrhhhhh I dunno...I just throw it all together".  I figured out in this process that I really do love writing them.  Trying new things and seeing what come out is very interesting to me.  Plus all the math is a bonus (yes I'm a geek)...

Trust me, when you try this coleslaw or take it to your next potluck people will definitely ask you how it is made.  There's not a lot of mayo in this, it's really the honey and the jalapenos that stand out.  So here goes...let me know what you think!


Yes, if you're wondering, those are jalapenos in that jar.  I canned a bunch of them at the end of last summer and they are like gold to me.  I may try to can a bunch this year and sell them if there is any interest.  They are way better than the ones in the can, plus you can decide how much you want to put in.  Also, the cider vinegar is M.I.A....It's there, it's just propping up the slaw.  Ooops!

Put all your ingredients into a bowl.  I'm still experimenting with my camera, and yes I do have fingernails.  I kicked that habit! Even though it is hard to tell...

Oooooh pretty green onions...on my very used cutting board...
Once you get all the ingredients into the bowl, whisk and you'll get something like this.

Then, just fold in your slaw and refrigerate!  Notice the glossy yum all over that slaw?  Well it's going to do some work in the fridge and the acidity will break down the coleslaw even more! 
Make sure you stir well before serving...And you end up with something like this...Notice how the volume was cut in half??? Told ya! ;)


So so so good, I can't even begin to tell you!  And yes, this was the only thing I made homemade that night, so sue me!


Honey Jalapeno Coleslaw
1 pkg coleslaw mix
1/3 cup mayo
2 Tbsp honey
1 Tbsp diced canned jalapenos
3-4 green onion stems, diced
1 tsp cider vinegar
salt & pepper to taste

Whisk together everything but the coleslaw.  Fold in the slaw mix and refrigerate.  It will look like there's not enough dressing but after it has been refrigerated the coleslaw will shrink and break down.  The longer it is refrigerated the better!

Thursday, March 25, 2010

Mulligan Stew

This is a super simple, yet delicious and fast meal.  It's so easy I sometimes dismiss it as a possibility, thinking I want to make something more difficult, and therefore just recently made it for the first time for my hubby.  And now I'm not allowed to dismiss it anymore- he loved it, and your family will too!

Mulligan Stew
1  pound pkg. ground beef (or ground turkey, which is what I use)
1  medium onion, chopped
1  can pork & beans
2-3 Tablespoons ketchup
A couple of dashes of Worcestershire
2  teaspoons brown sugar
1-2 Tablespoons mustard

DIRECTIONS:  Brown the hamburger with the onion.

Drain and add the pork & beans.
Stir in the ketchup, brown sugar, mustard, and Worcestershire to the meat mixture.
Cook for 15 minutes on low. Serve with a salad and bread and butter.
 I like extra mustard on mine:)

Shakespeare...Not Just A Man

I have an appointment in Columbia tonight and I don't really feel like cooking (shocker).  I figured I would drop by Shakespeare's Pizza and pick up dinner.  Large, pepperoni, wheat crust...oh mama!  It really doesn't get much better than that. (Although I love lots of veggies on mine, but remember that whole meat/potatoes deal I married into???) I seriously have not ever had a better tasting pizza. Try me, I dare you.  So what's your favorite pizza place and/or favorite pizza? 

Hearty Breakfast Pizza

With all these farm fresh eggs at my disposal, I've been looking for new ways to make breakfast for dinner.  I made this pizza last night, along with some fried potatoes on the side.  I didn't need the fried potatoes.  This recipe makes one very filling pizza, so much that the hubs even had leftovers for his breakfast this morning!

Hearty Breakfast Pizza
1 prepared pizza crust (I used the Jiffy pizza crust, I was short on time, and they make one of the best crusts!)
1/2 lb sausage
1/2 lb bacon, chopped
1/2 large onion, sliced
2 cups grated cheese (I happened to have cheddar and colby jack on hand so that's what I used)
4-5 eggs
1 Tbsp milk
dash of hot sauce
salt & pepper to taste

Preheat oven to 425°.  Cook sausage, bacon, and onions.  Set aside.  Prepare pizza crust and spread very thin on a pizza pan (again, I <3 my stoneware!)  Cook crust for about 10 minutes.  While you are cooking the crust, whisk together the eggs, milk, hot sauce, salt and pepper.  Scramble these eggs until they are about halfway done.  Take the pizza crust out of the oven.  Spread your eggs from the center of the crust out, leaving a little edge for crust.  Sprinkle your meats and onion over the eggs, and top with cheese.  Bake again for another 10 minutes or until eggs are set and crust is golden. 

The hubs was a little wary at first (he has trouble branching out from meat and potatoes, must be part of the cattle farmer's creed or something) but he said, "this was way better than I thought it would be, you're gonna need to pack this up, cause I'm gonna pound it for breakfast in the morning!"  Best part about this recipe is that you can change up the ingredients.  Timothy suggested that next time we use some morel mushrooms (the season is coming up!)...maybe I can sneak in some spinach and some exotic cheese...or maybe not

Give me some ideas...What would be yummy on a breakfast pizza???

Wednesday, March 24, 2010

New Look To The Site!

If you notice, some things have changed a little bit at YIMT...Now you can find all of your favorite recipes easily, by browsing through our recipes on the sidebar.  So if you can't figure out what to make for your next meal, hit up our recipe categories, maybe something will inspire you!

Sunday, February 28, 2010

Hot Crab Dip

I made this last night for a dinner party and it was a HUGE hit.  Gone in seconds!  I went to the local chinese restaurant and had them fry me won ton strips almost like chips and walked out with 2 big bags for $4!! Yes you heard me right, four dollars!  This was significantly cheaper than me making my own (which you could very well do, and would probably be healthier)

8 oz cream cheese softened
1 cup sour cream
4 Tbsp mayo
4 Tbsp butter, softened
1 bunch green onions, chopped
1 Tbsp diced jalapenos (I think I added more than that just because I like things spicy)
1 tsp seasoned salt (you could also use Old Bay)
cracked pepper to taste
dash of hot sauce
1/2 tsp Paprika
2 (6 oz) cans white crab, drained
1 cup mozzarella cheese

Blend first 4 ingredients until smooth, add salt, paprika, pepper, and hot sauce.  Blend.  Stir in the rest of the ingredients and bake @ 325 for 30 min.  I also added a little parmesan cheese and put more mozzarella cheese on top for the last 5 minutes of baking.  Tasted very much like crab rangoon if you're a fan of it like me, yum yum yum!

Wednesday, February 10, 2010

Eggplant

The other day I was grocery shopping and saw some beautiful eggplant.  I've never cooked with it, but I'd like to.  Do you any of you out there have amazing eggplant recipes?  Also, what should I look for when buying an eggplant?

Tuesday, February 9, 2010

Sweet Potato Fries

This is a healthier, yet still delicious, alternative to french fries.  Start with two large sweet potatoes, and peel them.
 
Cut the potato into long strips, then toss in olive oil, just enough to make them shine.
  
 
Place on a baking sheet, sprinkle with Lawry's Seasoned Salt, and fresh parsley.  Bake at 400 degrees for about 20 minutes, then pull them out and toss them around a bit, bake for another 15 minutes.  Enjoy!